Looking for an easy and quick way to transfer photos from iPhone 16e to laptop? Here are new and effective methods to import photos or videos in laptop in minutes. You can instantly transfer all your media related files from iPhone to your Macbook, Windows, or Linux based devices like a pro.
In today’s digital age, smartphones have become an important part of our lives. Especially devices like the iPhone, which not only offer great camera quality, but also have unparalleled security and user experience. New models like the iPhone 16e offer even more great features that make photography even easier. But, after taking so many photos, it becomes necessary to transfer them to a laptop to keep them safe and edit them. If you also want to transfer photos from iPhone 16e to laptop, then this how to guide is for you. We have explained everything in detail below:
Ways to transfer photos to Mac
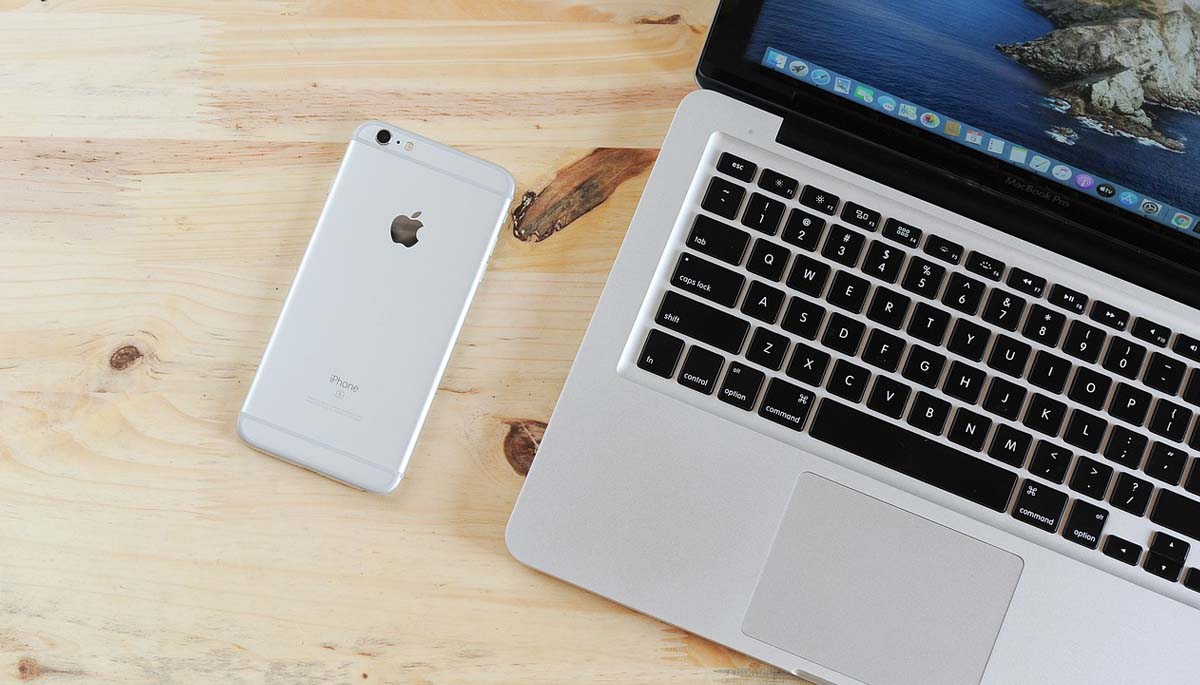
If you are a Mac user (own Macbook), then transferring photos from iPhone is quite easy. The first way is to use the Photos app and import the photos from iPhone to Macbook.
- For this, first connect your iPhone to the Mac via USB cable.
- After connecting, open the Photos app on the Mac.
- This photo app will automatically detect your iPhone and show you an “Import” screen.
- All the photos and videos on your iPhone will appear on this screen.
- You can select the photos and save them on the Mac.
Alternately, if you don’t want to use USB cable, then using iCloud you can transfer photos. If iCloud Photos is turned on on both your iPhone and Mac, your photos will automatically sync on both devices. For this, it is necessary that you are logged in with the same Apple ID on both devices. However, this method requires sufficient iCloud storage. If you have less iCloud storage, you may have to upgrade the storage plan.
Ways to transfer photos to Windows PC
If you are a Windows PC user, transferring photos from iPhone is quite simple. The first method is to use the Apple Devices app. Here’s how to do:
- For this, first install the Apple Devices app from the Microsoft Store.
- Then, connect your iPhone to the PC via USB cable.
- Unlock the iPhone and tap “Trust” on the “Trust This Computer” prompt.
- After this, open the Apple Devices app and select your iPhone.
- Now you can access and import your iPhone photos.
The second method is to use the Windows Photos app. For this, connect the iPhone to the PC with a USB cable and open the Windows Photos app. Click on the “Import” button in the app and choose the “From a USB device” option. Now select the photos you want to import and choose the destination folder.
The third method is to use File Explorer. After connecting the iPhone to the PC, open File Explorer. Your iPhone will appear as a device. You can now browse the folders and copy and paste the photo files on the PC.
Some important points
Whenever you connect the iPhone to a computer for the first time, a “Trust This Computer” prompt appears on your iPhone. To transfer photos, it is important to tap “Trust” on this prompt. If you are using iCloud Photos, make sure that you have enough iCloud storage and the photos are fully downloaded on your iPhone.
Sometimes, compatibility issues may occur due to the photo format. In such a situation, you can go to the camera settings of your iPhone and choose the “Most Compatible” (JPEG and H.264) format. This option will be found in Settings > Camera > Formats and you can fix the issue and then begin import!
Conclusion
Transferring photos from iPhone 16e to laptop is not a difficult task. Whether you are a Mac user or Windows, there are many easy methods available for both. Just make sure that your device and software are updated so that the transfer process is smooth. If you use iCloud, take special care of storage. By following these tips, you can easily keep your memories safe.
We recommend, being an Apple user, create account on iCloud and enable the sync. This way whenever you click photo on your device, it will auto upload on iCloud and using iCloud you can later access it, download it on your preferred device like iPad, Macbook, Windows Laptop / Desktop etc.